-
E-mail
syatfj@163.com
-
Phone
13655818927
-
Address
Shangpu Industrial Park, East Side of National Highway 104, Shangpu Town, Shangyu District, Shaoxing City, Zhejiang Province
Product Categories
Shaoxing Shangyu'an Ventilation Fan Equipment Co., Ltd

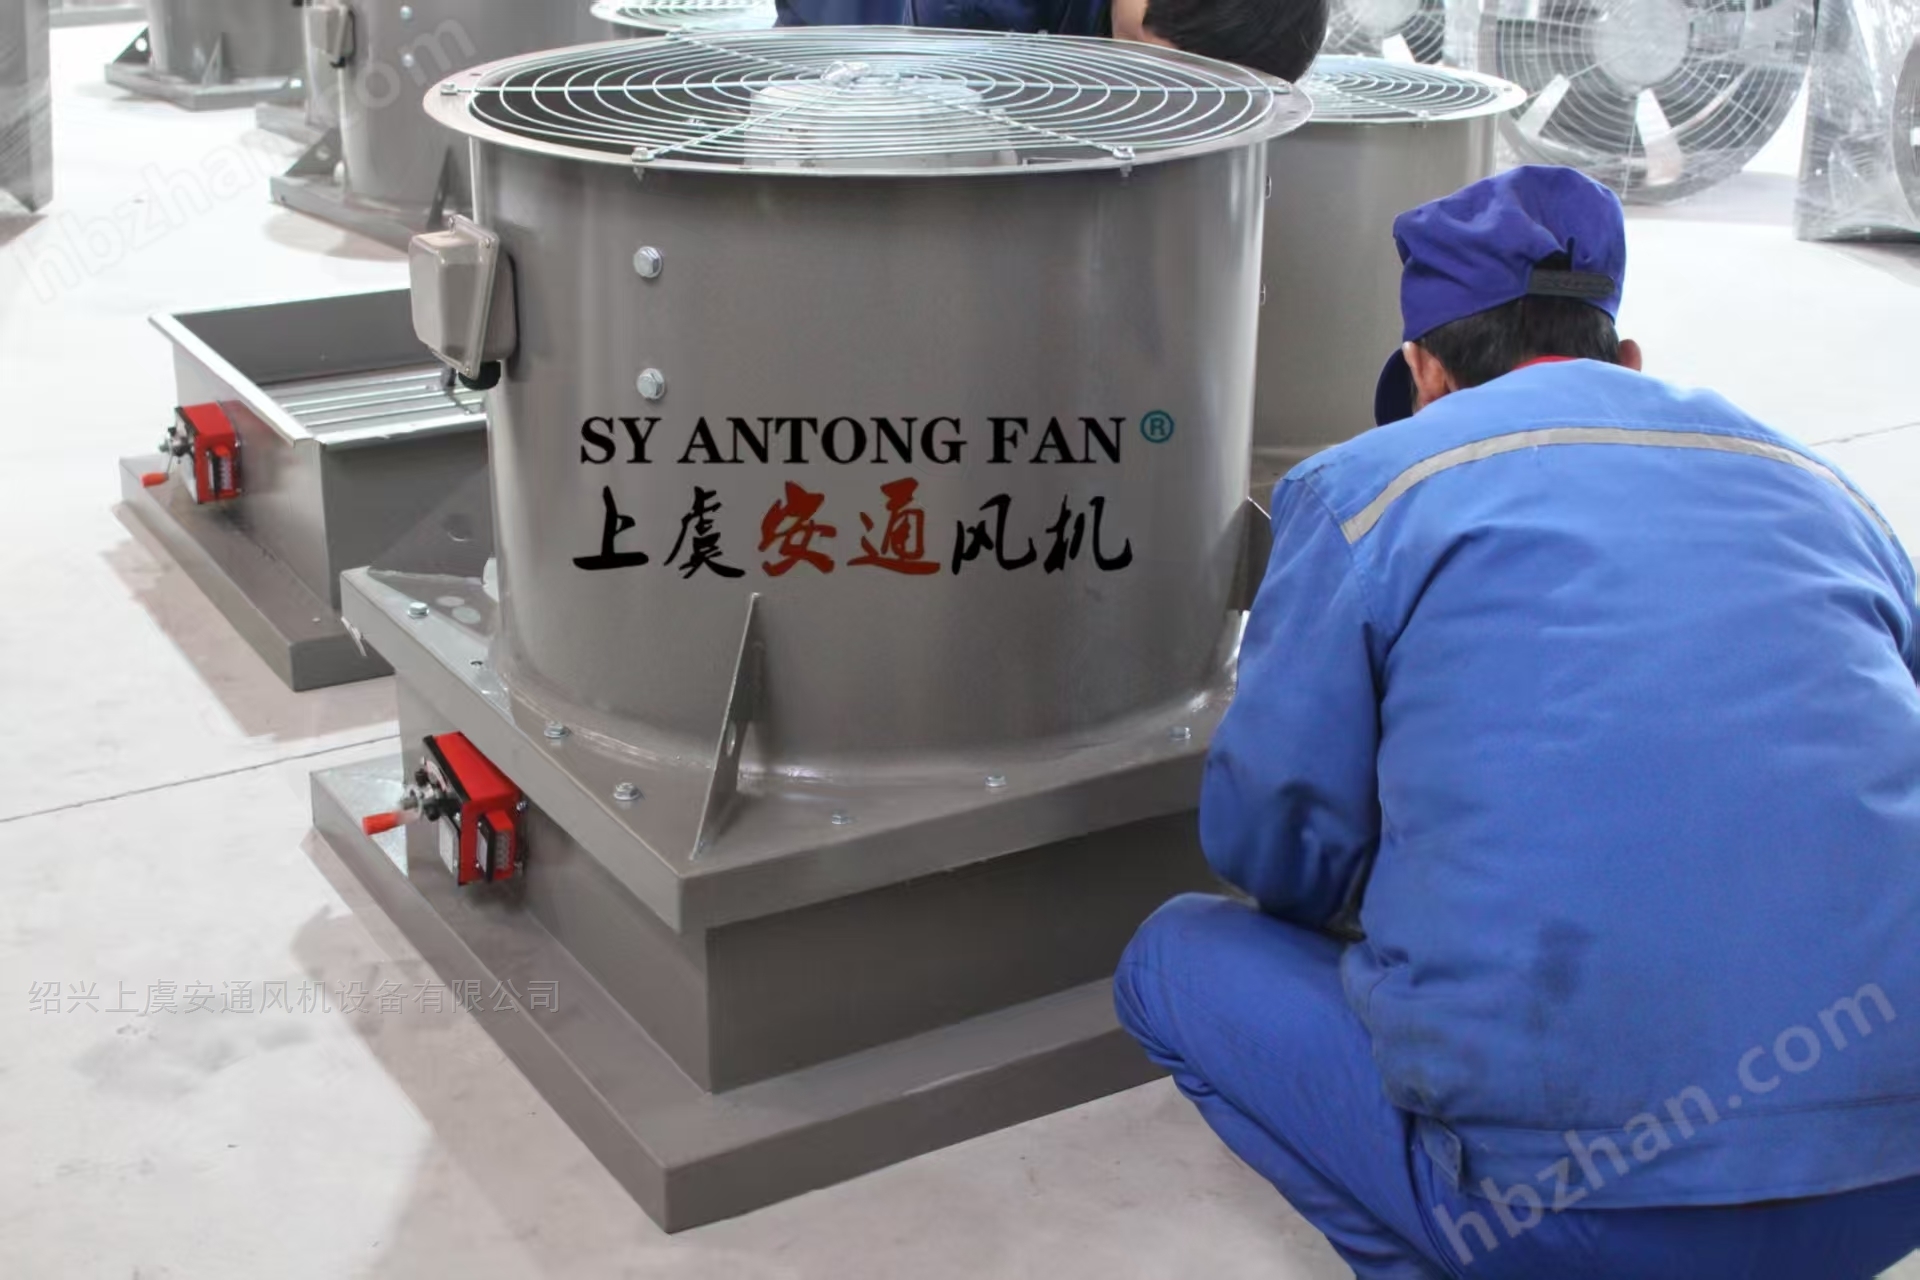
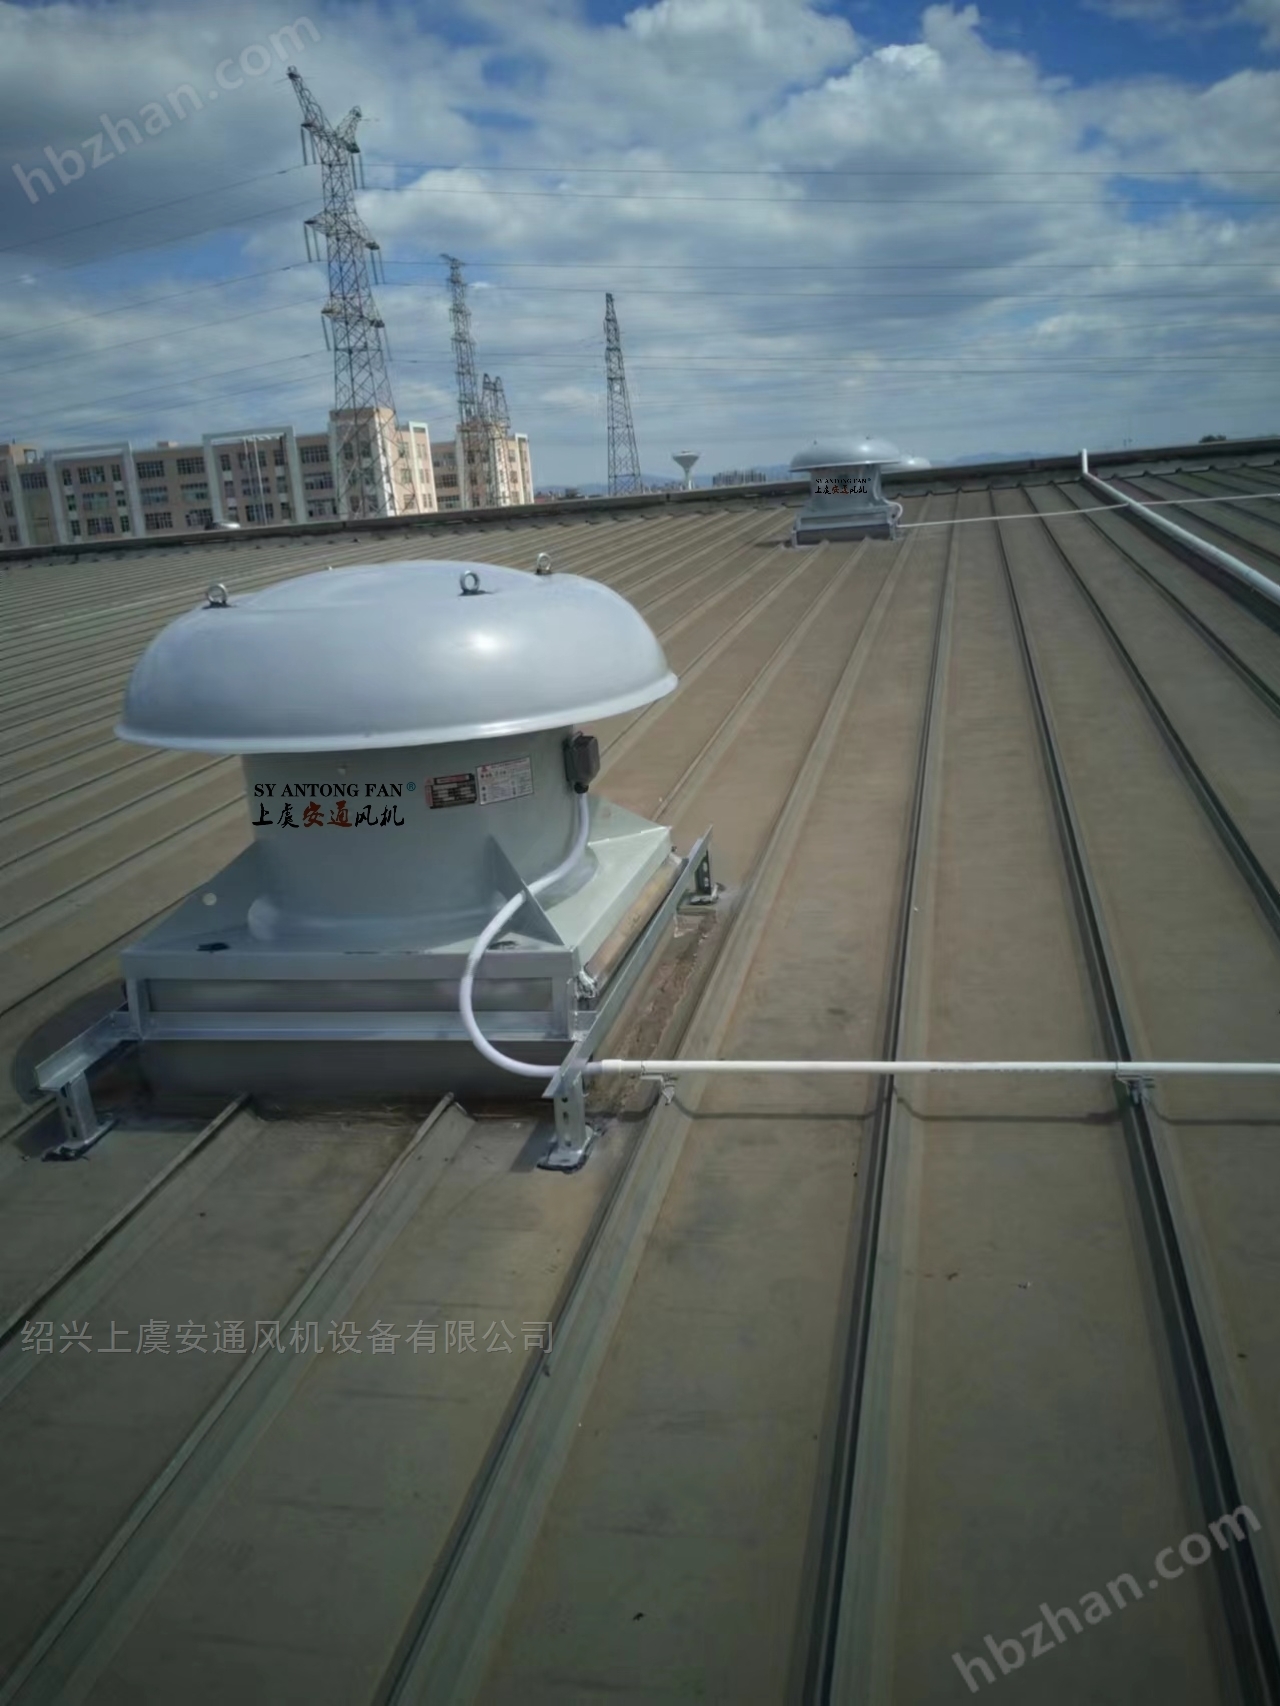

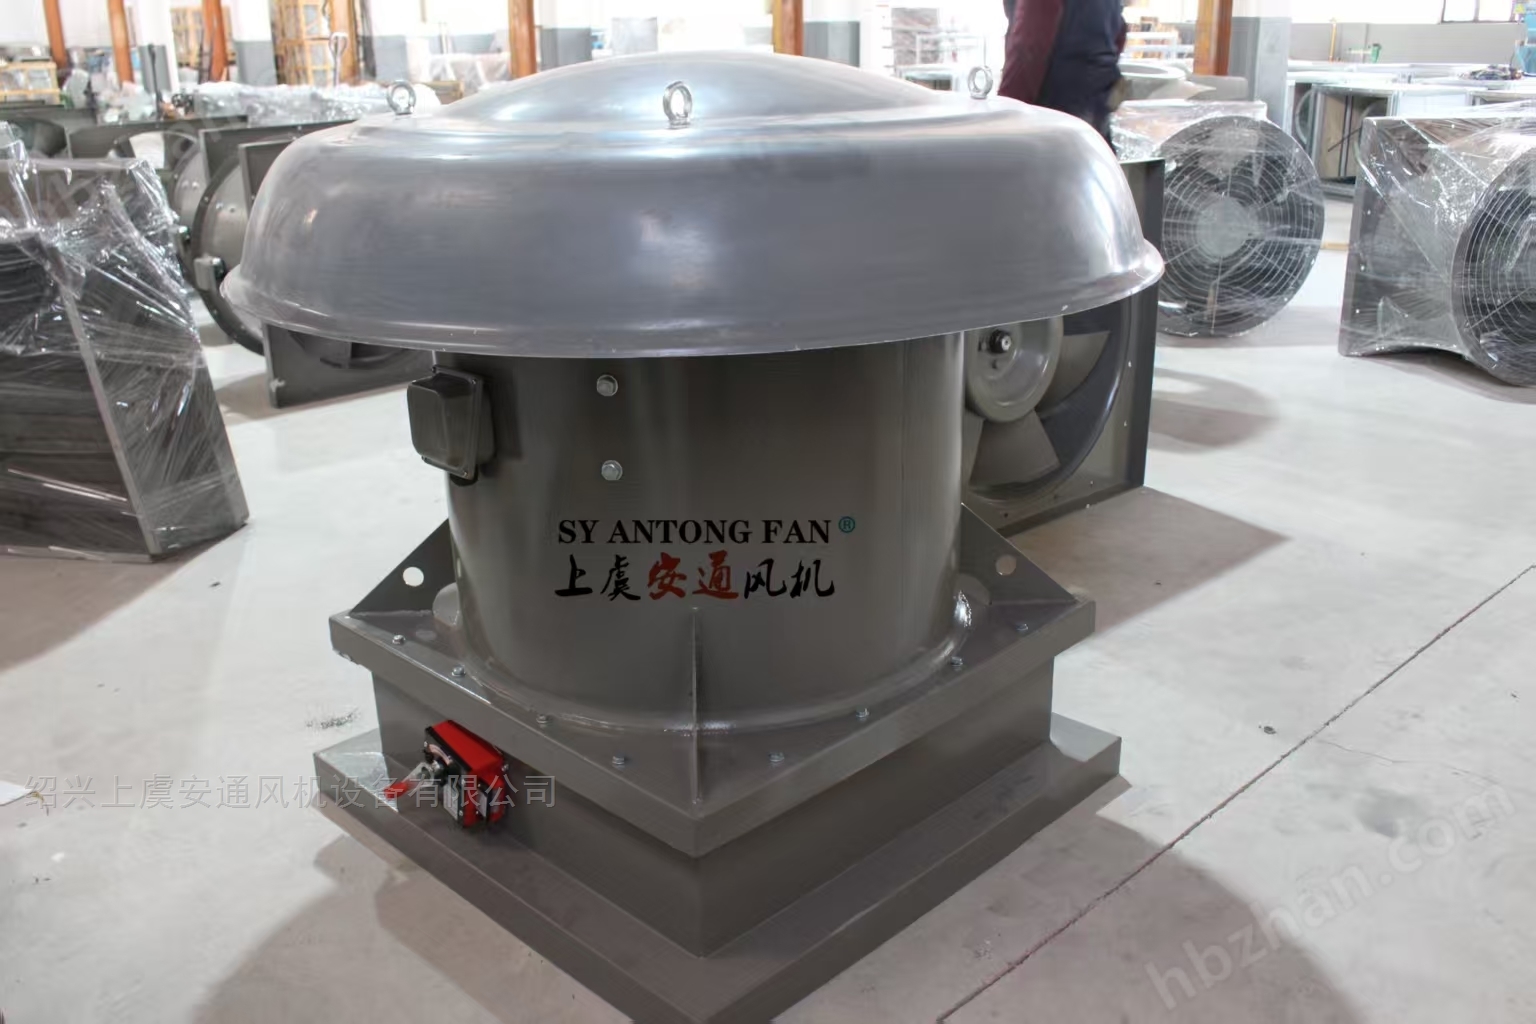
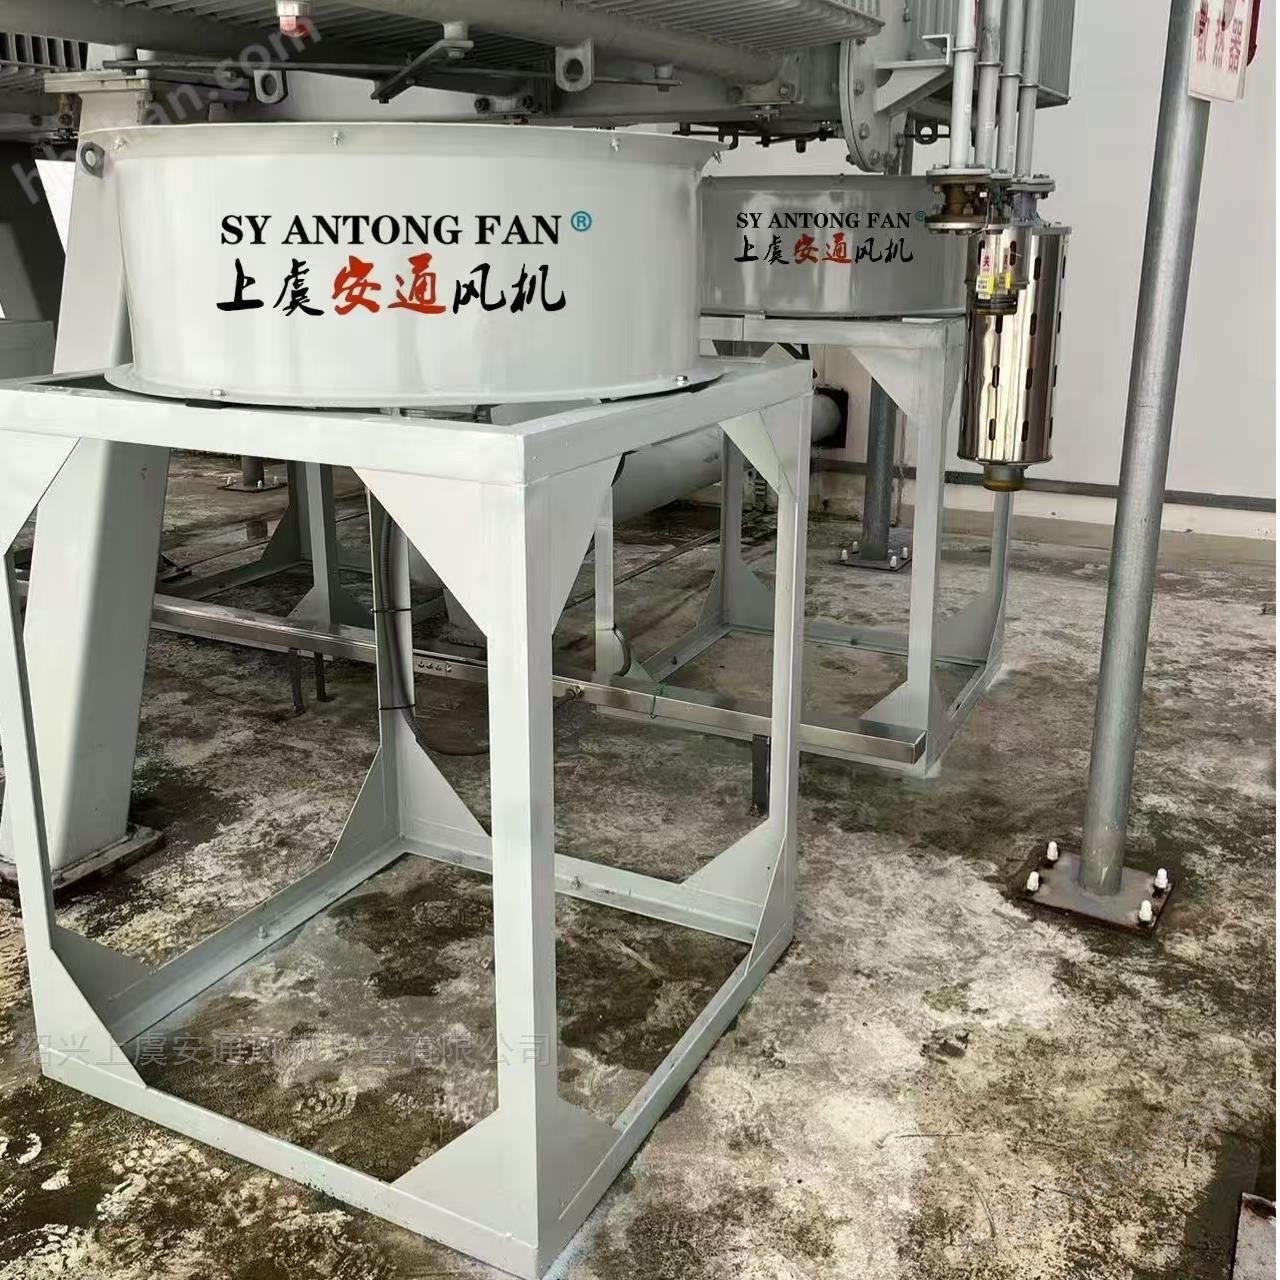
DWT-I series roof fan
NegotiableUpdate on 02/16
- Model
- Nature of the Manufacturer
- Producers
- Product Category
- Place of Origin
Overview
Carefully review the installation drawings, user manuals, and other technical information of the DWT-I series fan, and fully familiarize yourself with the model, specifications, performance parameters, and installation requirements of the fan. Ensure a clear understanding of the system composition of the fan, including detailed information on various components such as the motor, impeller, casing, and hood.
Product Details
DWT-I seriesInstallation details
1、 Preparation before installation
Data review
Carefully review the installation drawings, user manuals, and other technical information of the fan, fully familiarize yourself with the model, specifications, performance parameters, and installation requirements of the fan. Ensure a clear understanding of the system composition of the fan, including detailed information on various components such as the motor, impeller, casing, and hood.
Check whether the design parameters of the fan match the actual engineering requirements, such as wind volume, wind pressure, noise indicators, etc. If any parameter discrepancies are found, timely communication should be made with the supplier or design unit to avoid the inability to meet the normal operation of the ventilation system after installation due to parameter errors.
On site investigation
Conduct a comprehensive on-site investigation of the installation site. Check the structural load-bearing capacity of the roof to determine if it can withstand the weight of the fan and installation foundation. Generally speaking, it needs to be installed on a sturdy concrete roof or a metal roof with sufficient strength. For situations where there are doubts about old buildings or roof structures, it may be necessary to hire professional structural engineers for evaluation and reinforcement design.
Confirm whether the opening size of the roof meets the installation requirements of the fan. The opening size should be slightly larger than the size of the fan base to provide sufficient space for installation and subsequent maintenance. At the same time, measure the flatness of the edges around the roof opening to ensure that the fan remains level and stable after installation. If the edge of the opening is uneven, it needs to be trimmed or filled.
Observe the environment around the roof and pay attention to any obstacles that may affect the installation and operation of the fan, such as parapets, chimneys, ventilation ducts, etc. The installation position of the fan should be determined to avoid collision with other equipment or building structures, and the direction of the airflow discharged by the fan should be considered to avoid adverse effects on the surrounding environment and personnel.
Preparation of tools and materials
According to the installation requirements, prepare the necessary tools such as drill, welding machine, wrench, screwdriver, level, tape measure, lifting device, etc. Ensure the integrity and accuracy of tools, for example, the drill bit of an electric drill should be selected with appropriate specifications to meet different installation aperture requirements; The level should be calibrated to ensure the level and verticality of the installation.
Prepare the necessary materials for installation, such as bolts, nuts, washers, shock absorbers, sealants, etc. The specifications of bolts and nuts should match the installation holes of the fan, and ensure sufficient strength and corrosion resistance. The selection of shock absorbers should be determined based on the weight and vibration characteristics of the fan to ensure good shock absorption effect. The sealant should have good waterproof and windproof properties, and be used to fill the gaps between the fan and the roof to prevent rainwater leakage and air short circuits.
Fan inspection
Before installation, conduct a detailed visual inspection of each component of the fan to check for any damage caused during transportation, such as deformation of the impeller, indentation of the casing, scratches on the motor, etc. For minor damages found, such as paint scratches, they can be repaired on site; For serious damages such as impeller blade breakage, motor damage, etc., the supplier should be notified promptly for replacement.
According to the requirements of the product manual, manually rotate the impeller and check whether it rotates flexibly and whether there is any jamming phenomenon. The rotation direction of the impeller should be consistent with the specified rotation direction of the fan, which is the key to ensuring the normal exhaust of the fan. At the same time, check whether the motor winding of the fan is damp and whether the insulation resistance meets the requirements. An insulation resistance meter can be used for measurement. If the insulation resistance is too low, it may be due to the motor being damp or damaged, and it needs to be dried or replaced.
2、 Installation process
Basic production and installation (if necessary)
For some large or special requirementsDWT roof fanIt may be necessary to create a specialized installation foundation. The basic design should be determined based on the weight, size, and load-bearing capacity of the fan and the roof. Generally, concrete foundation is used, and its strength grade should not be lower than C20. The size of the foundation should be 100-200mm larger than the size of the fan base on each side, and the depth depends on the size and weight of the fan, usually between 300-500mm.
When making the foundation, it should be ensured that its surface is flat and the horizontal deviation does not exceed ± 2mm. Pre embedded parts or reserved bolt holes can be set on the foundation surface for a firm connection with the fan base. The position and size of the embedded parts should be accurate, and rust removal and anti-corrosion treatment should be carried out.
After the basic production is completed, sufficient curing time is required, generally not less than 7 days, to achieve its design strength. After the basic maintenance period is over, place the fan base on the foundation and use bolts to firmly connect the base to the embedded parts or bolt holes. When tightening bolts, they should be gradually tightened diagonally to ensure even force distribution on the base and prevent deformation. Meanwhile, shock-absorbing pads can be placed between the base and foundation to reduce vibration transmission during fan operation.
Fan hoisting
Select suitable lifting equipment, such as cranes, electric hoists, etc., based on the weight of the fan and site conditions. Before lifting, the lifting equipment should be inspected and tested to ensure its good performance and safety and reliability. At the same time, calculate the length and bearing capacity of the lifting rope to ensure that the wind turbine can be smoothly lifted to the roof position.
At the lifting point of the fan, specialized lifting equipment or straps should be used for tying. The binding position should be selected near the center of gravity of the fan, and the binding should be firm to prevent the fan from slipping during the lifting process. For some vulnerable components such as impellers, motors, etc., additional protective measures should be taken during lifting, such as using soft materials for wrapping.
During the lifting process, there should be a dedicated person to command and clear signals. Slowly lift the fan to gradually lift it off the ground. When the fan is lifted close to the roof opening, pause the lifting and adjust the position and angle of the fan to align with the roof opening. Then slowly lower the fan and place it on the pre made installation foundation or directly install it on the bracket on the roof. During the entire lifting process, attention should be paid to avoiding collisions between the fan and surrounding buildings or other equipment.
Fan installation
After placing the fan in the installation position, first adjust the levelness and verticality of the fan. Use a spirit level to measure different parts of the fan, such as the base of the fan, the shaft end of the motor, etc. Adjust the levelness of the fan by adding or removing shims or adjusting the installation bolts at the bottom, so that the levelness deviation of the fan is controlled within ± 1mm/m. The adjustment of verticality is mainly aimed at the axis of the impeller of the fan, which should be perpendicular to the horizontal plane with a verticality deviation of no more than ± 0.5mm/m. This can ensure that the force on the impeller of the fan is uniform during operation, reducing vibration and noise.
After adjusting the levelness and verticality of the fan, start the fixed connection between the fan and the roof or foundation. If installed on a concrete foundation, use bolts to firmly connect the fan base to the foundation and tighten the nuts. For fans installed directly on the roof, the fan bracket can be fixed to the roof structure by welding or bolt connection. Ensure the quality of the weld seam during welding, free from defects such as porosity and slag inclusion; When connecting bolts, tighten them according to the specified torque.
Install the inlet and outlet ducts of the fan (if any). The air inlet duct should be tightly connected to the air inlet of the fan to ensure that gas can enter the fan smoothly. The installation of the air outlet pipeline should pay attention to its direction and slope, so that the discharged gas can be smoothly discharged to the outside, and avoid rainwater from flowing back into the fan. The connection between the pipeline and the fan should be sealed with sealant to prevent gas leakage.
Electrical connection
Before connecting the electrical circuit of the fan, it is necessary to ensure that the power supply has been cut off to avoid electric shock accidents. Connect the motor of the fan to the power cord according to the electrical wiring diagram of the fan. Generally speaking,DWT roof fanThe motor is a three-phase asynchronous motor, and its wiring methods include star (Y) connection and triangle (Δ) connection. When wiring, it is necessary to strictly follow the rated voltage and wiring method of the motor to ensure correct and error free wiring.
When connecting the power cord, pay attention to the phase sequence of the circuit. For three-phase motors, the correctness of the phase sequence directly affects the motor's direction of rotation. If the phase sequence is reversed, the motor will reverse, causing the fan to be unable to exhaust properly. The correct phase sequence can be determined by observing the motor's turn signal or using a phase sequence table. At the same time, it is necessary to ensure good grounding of the motor. The grounding wire should be connected to a specialized grounding device, and the grounding resistance should not exceed 4 Ω to prevent motor leakage and ensure personal safety.
After installation, check the electrical circuit to ensure that it is not damaged or loose. A multimeter can be used to test the continuity of the circuit and check whether the winding resistance of the motor meets the requirements. Then restore the power supply, conduct a trial run, and observe the operating status of the motor, such as whether the parameters of current, voltage, temperature, etc. are normal.
3、 Commissioning after installation
Mechanical debugging
Manually rotate the impeller again and check if it still rotates flexibly after installation, and if there are any abnormal friction sounds or jamming phenomena. If any problems are found, the machine should be stopped immediately for inspection and troubleshooting.
Tap the motor and observe whether the rotation direction of the impeller is correct. From the direction of the air inlet of the fan, the impeller should rotate counterclockwise (the specific rotation direction depends on the design of the fan). If the rotation direction is incorrect, adjust the wiring phase sequence of the motor.
After confirming that the impeller rotation direction is correct, start the motor and let the fan run at low speed for 5-10 minutes. During this period, pay attention to observing the overall operation of the fan, including whether there are any abnormal vibrations, noises, etc. A portable vibration measuring instrument can be used to measure the vibration value of the fan. Under normal circumstances, the vibration speed of the fan should not exceed 6.3mm/s (specific standards may vary depending on the type and design requirements of the fan). If the vibration is too large, it may be caused by unbalanced impellers, damaged bearings, or uneven installation foundations, and it needs to be investigated and resolved one by one.
Gradually increase the speed of the fan to reach its rated speed. During the acceleration process, it is important to closely monitor the operating status of the fan and changes in various parameters. Run continuously for about 30 minutes, during which check if the bearing temperature and motor temperature of the fan are normal. In general, the bearing temperature should not exceed 70 ℃, and the motor temperature should not exceed its rated temperature (specific temperature values can refer to the motor's user manual). If the temperature is too high, it may be caused by poor lubrication, overload, or cooling system failure, and needs to be dealt with in a timely manner.
Electrical debugging
Measure the motor current and voltage of the fan. When the fan is running normally, use a clamp ammeter to measure the working current of the motor, and the current value should be within ± 10% of the rated current of the motor. If the current is too high or too low, it may be caused by motor overload, underload, or electrical failure. At the same time, use a multimeter to measure the power supply voltage and ensure that the voltage fluctuates within ± 10% of the rated voltage. High or low voltage can affect the performance and lifespan of the motor.
Check the insulation performance of the motor. Use an insulation resistance meter to measure the insulation resistance of the motor winding, and the insulation resistance should not be less than 0.5M Ω. If the insulation resistance is too low, it indicates that the motor may have moisture or leakage problems, and it is necessary to dry the motor or check whether the electrical circuit is damaged and whether the grounding is good.
Debug the control system (if any). For some systems with control systems, such as variable frequency control, intelligent control, etc., functional debugging of the control system is necessary. Check whether the control functions are normal, such as wind speed adjustment, timing switch, etc., and whether they can be accurately implemented. According to the control requirements, set different operating parameters and observe whether the response of the fan meets expectations.
Performance testing
After the wind turbine debugging is completed, perform performance testing. Use an anemometer to measure the wind speed and volume at the outlet of the fan. Wind speed and air volume are important indicators for measuring performance. According to the model and design requirements of the fan, the wind speed at the air outlet should reach a certain value (generally around 5-10m/s), and the air volume should meet the design requirements of the ventilation system (the specific air volume can be determined based on factors such as ventilation area and usage location).
At the same time, check the ventilation effect of the fan. Observe the air circulation in the ventilation area to determine whether the expected ventilation purpose has been achieved. For example, after installation in the factory, it is necessary to check whether the air quality in the workshop has been improved and whether the temperature has dropped to a suitable range.
Record various performance parameters and operating data of the fan, such as wind speed, air volume, pressure, current, voltage, temperature, etc. These data can provide reference for subsequent use and maintenance.
4、 Installation precautions
Safety first
Throughout the installation process, safety is the most important. Installation personnel must strictly follow safety operating procedures and wear personal protective equipment such as helmets, seat belts, safety shoes, etc. Especially when working on rooftops, reliable safety measures should be taken, such as setting up safety nets, installing protective fences, etc.
When using lifting equipment, the safety and reliability of the lifting equipment must be ensured, and overloading operations are strictly prohibited. It is strictly prohibited to stand below the lifting area to prevent objects from falling and injuring people. When working at heights, be careful to prevent tools and components from falling off.
Product quality inspection
Before installation, it is necessary to inspect all components, including whether the appearance is damaged, whether the parts are complete, and whether the quality meets the requirements. For products with quality issues, they should be replaced or repaired in a timely manner before installation.
Especially for key components such as motors and impellers, it is important to focus on checking their performance and quality. The insulation resistance, winding resistance and other electrical parameters of the motor should meet the requirements, and the balance of the impeller should be good without deformation, cracks and other problems.
Installation accuracy control
During the installation process, it is necessary to strictly control the levelness and verticality of the fan. As mentioned earlier, both horizontal deviation and vertical deviation should be controlled within the specified range. Otherwise, it will cause excessive vibration and increased noise during the operation of the fan, and even affect the service life and ventilation effect of the fan.
When connecting various components, ensure that the connection is firm and reliable. The tightening torque of bolts should meet the requirements to prevent loosening; The welding quality should be ensured to avoid welding defects.
Electrical safety
Electrical connections must be operated by professional electricians and strictly comply with electrical safety regulations. Ensure good grounding to prevent motor leakage from causing safety accidents. Be careful and cautious when debugging electrical systems to avoid electric shock accidents.